Java Intermediate: Lesson 2 - GUI
Being that in the lesson 1, intermediate level we saw the concept of class it is easier to understand the structure of an application with Graphical User Interface. In the case of this lesson is used NetBeans IDE and the application in this case is platform depended during the phase of development because it uses the libraries of the NetBeans IDE. If it could be considered that it was not mandatory to use NetBeans IDE until now, in this lesson this fact changes because of the reason I mentioned above.
In order to create a GUI project in NetBeans IDE it is necessary to follow the same steps with the ones followed during the creation of a normal project, so File -> New Project ... -> Java -> Java Application and click finish after determining the name of the project.
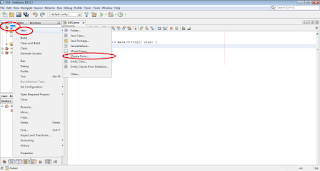
After the creation of the project, the next step that follows is the creation of a JFrame Form. In order to create a JFrame form on NetBeans IDE it is necessary to right-click on the name of the project on Projects explorer of NetBeans IDE, than select New and finally click JFrame Form as shown in the figure 1. In the window that appears must be determined the name of the the class for the window, in this example it is named GUIWindow.
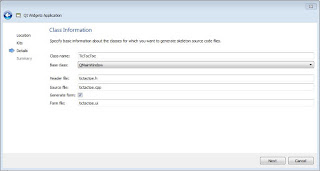
After the finish is clicked the NetBeans IDE create all the necessary structure of the code for a simple window as shown in the figure 2. Now that the new class is generated we can remove the class which was generated when the project was created. Running the project only with the modification explained above will result in an output as shown in the figure 2.
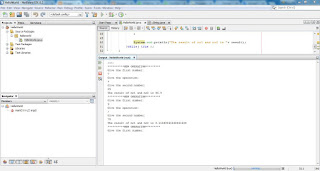
In order to be able to see the source code of the GUIWindow class, it is necessary to click in the source tab as shown in the figure 3 bellow.
We will analyse the content of the source file in the upcoming lessons together with other components.
(please report broken link in the comment)


Comments
Post a Comment