Java Beginner: Lesson 1
Like every other programming language lesson series we will start with the "Hello World" application just to get a little bit familiar with the environment.
First, in order to create a java application on NetBeans IDE, we need to click on the menu File->New Project... as shown in the figure 1 bellow:
After this step the window which allows the selection of type of application will be shown as seen in the figure 2 bellow:
We choose java application and click next.
The final step before creating the project is the determination of the name of the project and location where the project will be stored as seen in the figure 3 bellow:
After completing the above steps the view shown bellow in the fiugre 4 will be seen:
In the created HelloWord.java file is auto generated the class with the same name "HelloWorld" and within this calss is generated the main method, which is the entry point in our applicaiton. This is the method which we will edit in order to show "hello world" string on console and complete the first lesson.
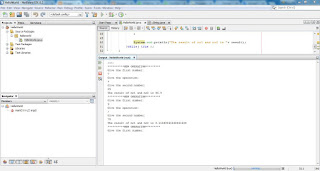
In order print the string "hello world" on console the main method should be edited as seen in the figure 5 above, by adding the line:
System.out.println("hello world");
Where System class is part of core libraries of java, out is a static variable of type PrintStream, which can be accessed directly from the class without needing to call any getter which is the standard way to get the values in an object oriented language, concepts which we will explain in the next lessons. The out attribute of type PrintStream has within it implemented the method println(String x) which we will see more in details in more advanced lessons as well as the other concepts touched in this lesson briefly.
(please report broken link in the comment)


Comments
Post a Comment